
Set up RMS Threads Assistant
Step-by-step guide to connect your own Meta Developer app and get RMS Threads Assistant running.
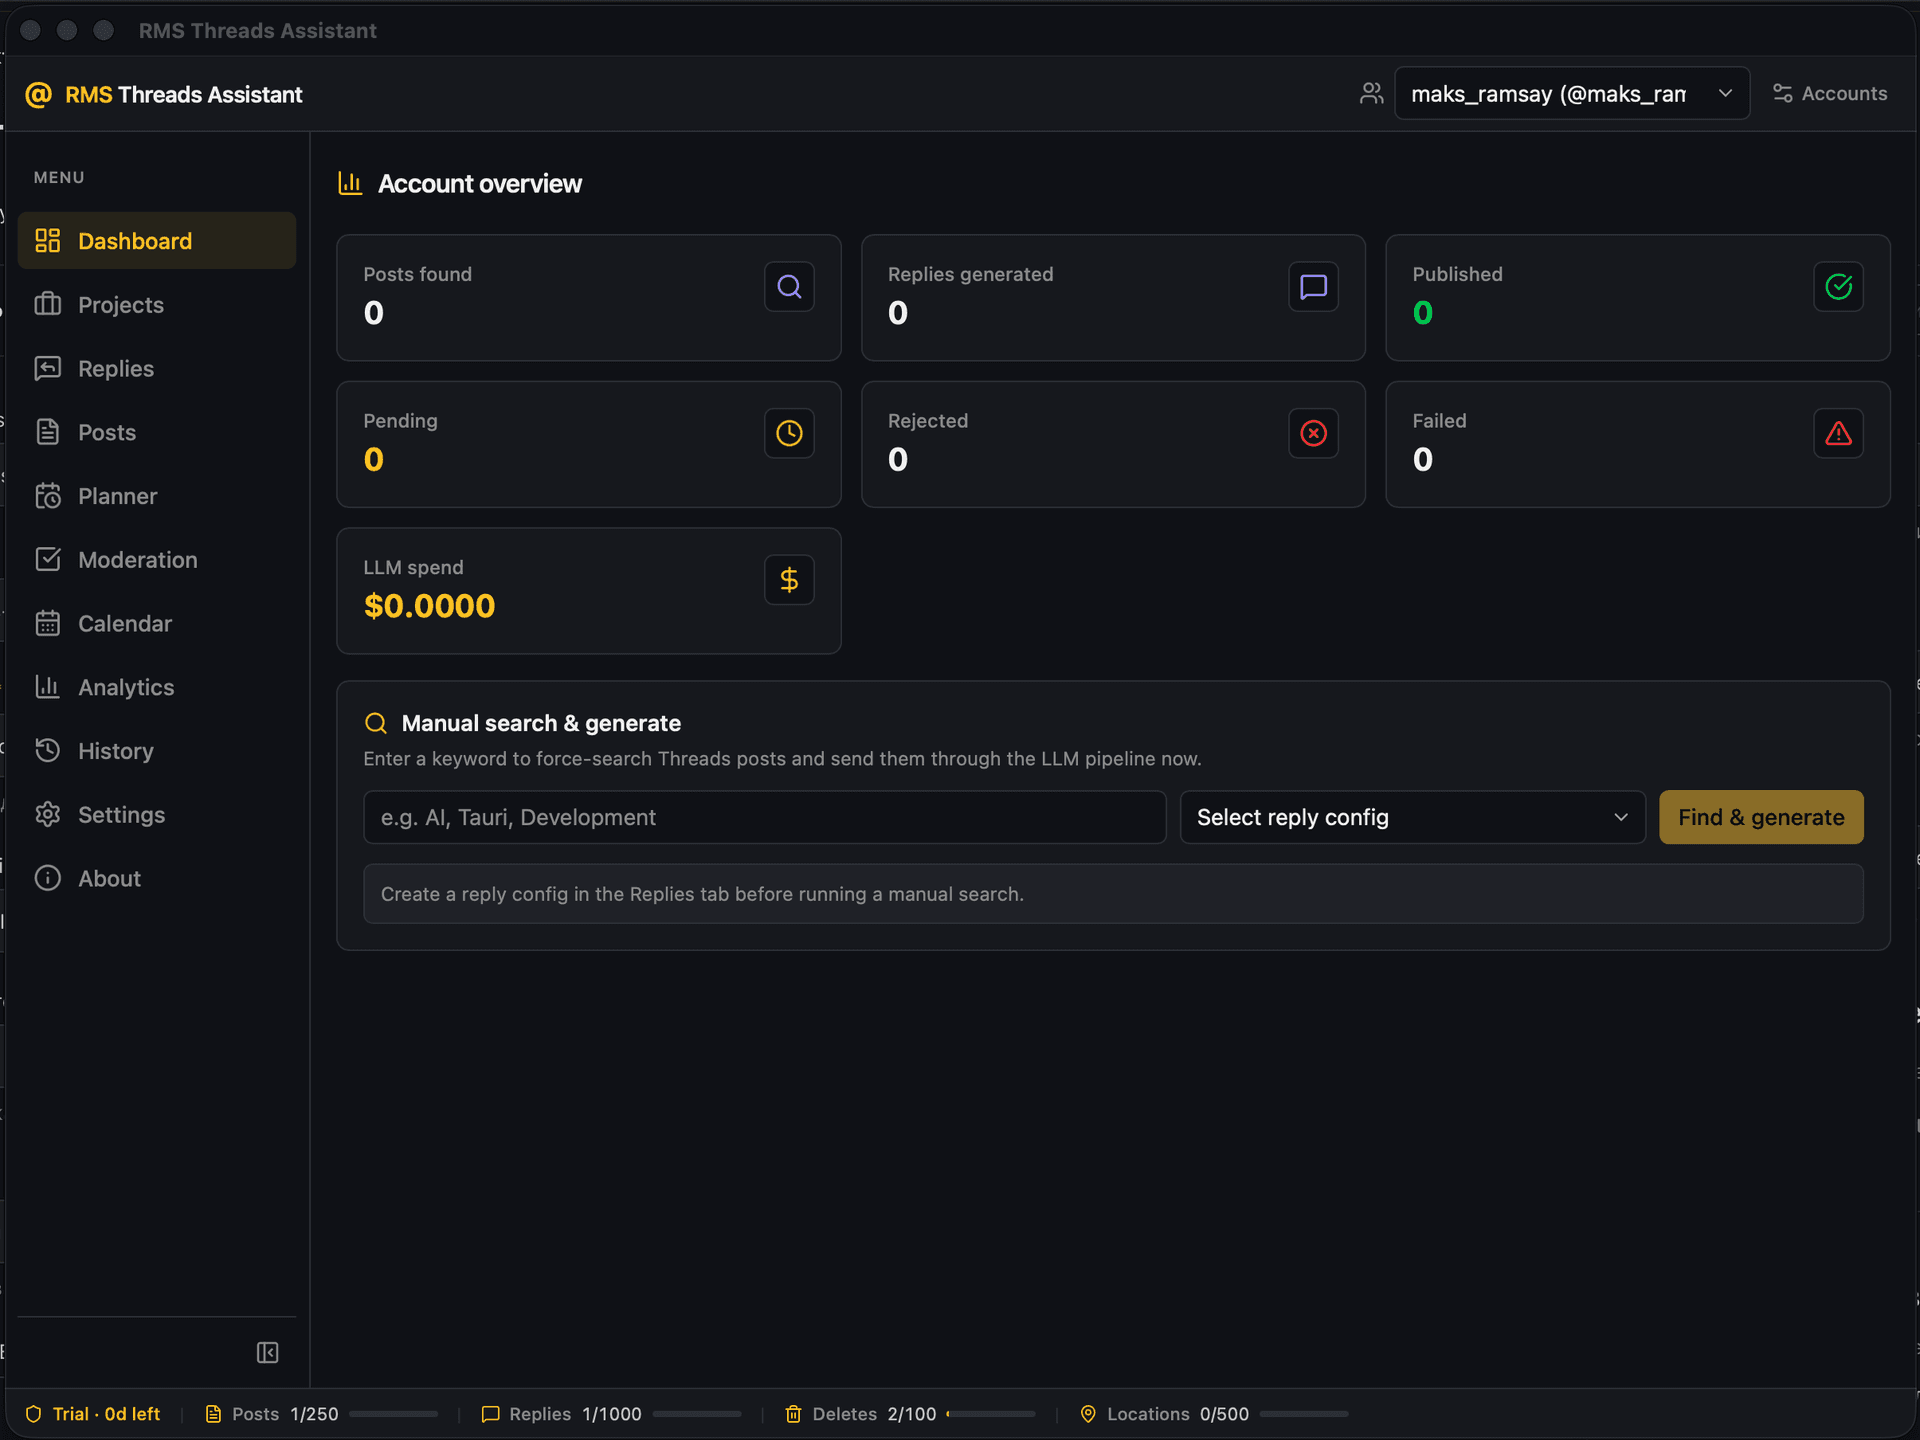
Quick path from download to your first scheduled post.
Download
Grab the latest release for your platform from the Releases page:
Platform | Download |
|---|---|
macOS (Apple Silicon) |
|
Windows |
|
Linux |
|
Android / iOS | coming soon |
macOS (first install): if macOS says the app is “damaged”, the build is not notarized yet. Remove the quarantine flag, then open:
xattr -r -d com.apple.quarantine /Applications/RMS\ Threads\ Assistant.app
Updates: macOS, Windows, and Linux AppImage can update from About → Updates. .deb / .rpm installs must be updated manually from Releases.
Create your Meta Developer app
RMS Threads Assistant runs on your own Meta Developer app, not a shared one — this keeps your rate limits and API quota separate from every other user.
- Go to developers.facebook.com → Create app
- Choose a use case that includes Threads (or add the Threads product)
- Under App settings → Basic, copy your App ID (Client ID) and App Secret
- Under Facebook Login / Threads → Settings (or Use cases → Customize),add this Valid OAuth Redirect URI exactly:
https://media.rms-ds.com/auth/callback - Under App Review → Permissions and features (or Threads use cases), request access to every permission below — the app needs all of them.
Threads permissions to enable
When Meta asks which capabilities you need, include all of these:
Permission | Used for |
|---|---|
| Profile and account access |
| Posts, replies, and chains |
| Delete posts/replies from History |
| Find posts by keyword in Projects |
| Read replies on threads |
| Hide/show replies you own |
| Mention-related features |
| Profile lookup |
| Engagement metrics in Analytics |
Development mode: add your Threads account as a Tester (or Admin/Developer) on the app so OAuth works before App Review is complete.
After adding permissions: use Reconnect in the app (Settings → Accounts) so the new scopes are granted. OAuth only includes permissions that existed at authorize time.
Connect your account
- Open RMS Threads Assistant → Settings → Accounts
- Click Add account
- Enter a display name, your Meta Client ID and Client Secret (stored only in your OS keychain — never sent to RMS servers except for the OAuth code exchange on the RMS edge)
- Click Connect and complete authorization in the browser window
- Select the account in the header dropdown when working with projects
If Connect fails, double-check the redirect URI and that your Threads user is a tester on the app.
Activate your license
New installs start a 5-day free trial automatically — no key required.
- Go to About (or click the license label in the status bar)
- Click Buy license → choose a plan at license.rms-ds.com
- Paste your license key in About → License key → Save key
Complete Meta “Use case testing” (one button)
Before App Review, Meta’s dashboard asks you to run API calls for each permission. The app can do this for you in one step:
- Settings → Limits & Meta (select your account first)
- Click Run Meta API use-case tests
- Confirm — the app publishes a short test post (and reply), exercises each permission, then deletes the test content
- Check results in the panel below the button (green = OK)
- In Meta App Dashboard → Use case testing, statuses may take up to 24h to show Complete
If any probe fails, use Reconnect on the account (Settings → Accounts) to refresh OAuth scopes, then run the tests again.
Add LLM API keys
Reply and post drafts need an LLM provider:
- Settings → API keys (select your account)
- Enter the API key for your chosen provider (OpenAI, Anthropic, etc.)
- Save
Keys stay on your device in the OS keychain.
Set up your first reply pipeline
- Projects → New project
- Set search keywords/topic and a short brand context so replies stay on-voice
- Choose your LLM provider and model settings
- Set your auto-approval confidence threshold
We recommend leaving auto-publish off at first and reviewing drafts manually until you trust the output.
Or start with the Planner
- Planner → New post
- Write your post; attach images if needed (local files, JPEG/PNG)
- Publish now, or schedule for a specific date and time
Optional: Telegram moderation
- Settings → General → Telegram integration
- Add a bot token (from @BotFather) and your chat ID
- Drafts can be sent for approval before publish
Need help?
- RMS License shop — purchase / renew
- Latest downloads
- Website: rms-ds.com